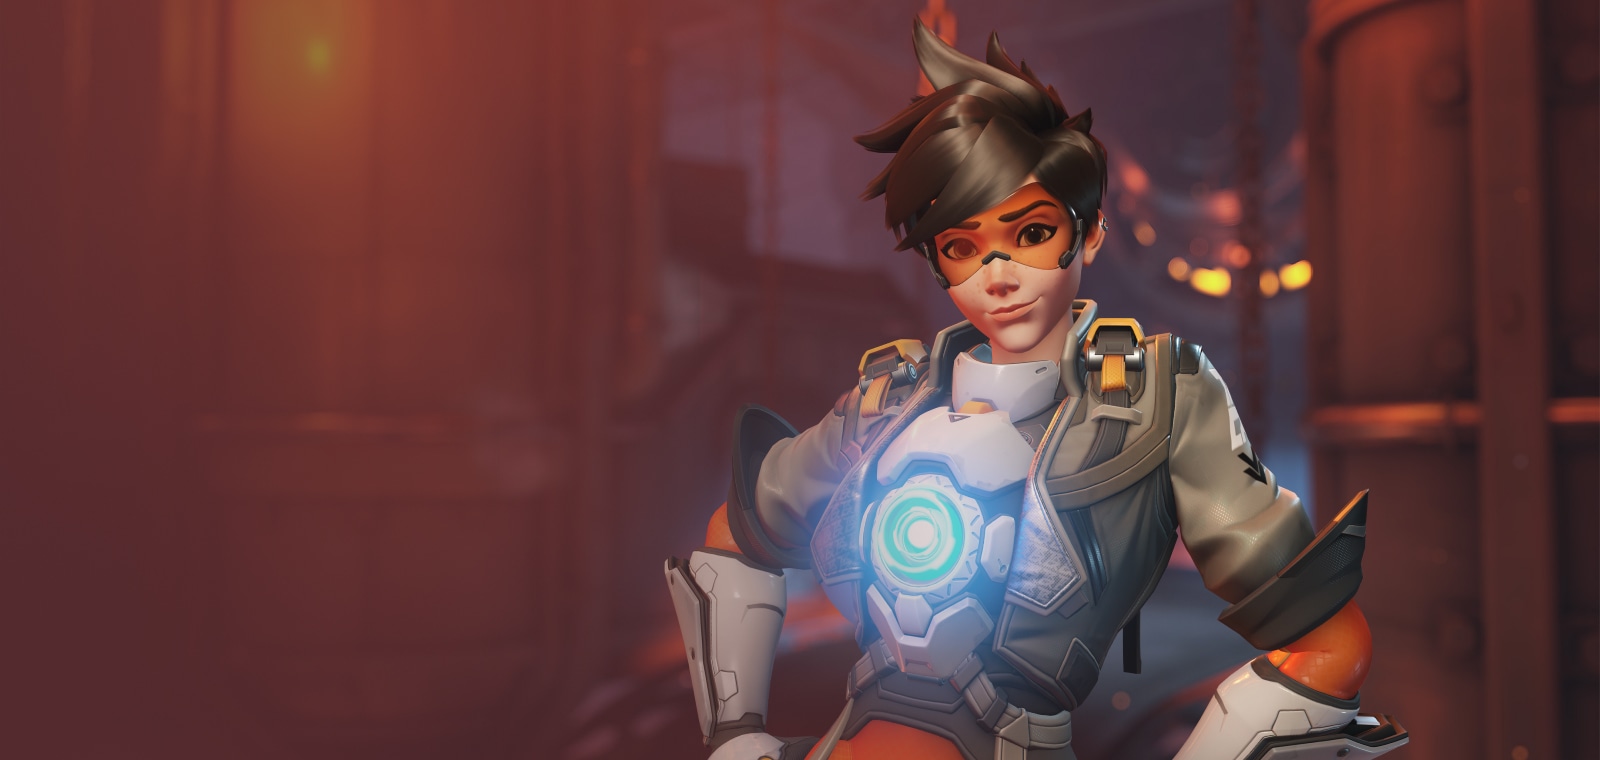
Tracer is Overwatch’s original flanker: a 175-health Damage hero who wins fights by being somewhere the enemy isn’t looking, landing a burst of close-range damage, and getting out before anyone can turn around. She has the highest skill ceiling in the Damage role and one of the lowest margins for error. This guide covers her full kit as of Season 5, which perks to pick, how to actually play her, and the heroes that give her the most trouble.
Tracer at a glance
- Role: Damage, Flanker sub-role
- Health: 175
- Difficulty: High. Her damage only works up close, and her low health punishes every mistake.
- Best at: Harassing and picking off enemy Supports, finishing low-health targets, and pulling attention away from your frontline.
Abilities
Flanker passive
Since the sub-role system arrived in February 2026, every Flanker gets extra healing from health packs: 50 more than the pack normally gives. On Tracer that’s a big deal, because a small pack refills most of her health bar. Learn where the packs are on every map. Your route in, your escape route and your reset spot should all run past one.
Pulse Pistols (primary fire)
Two hitscan pistols that fire together, 5.75 damage per bullet, 40 rounds per clip and a one-second reload. They can land headshots. Damage starts falling off at 10 meters and bottoms out at 20, so treat anything past about 10 meters as out of range. While you’re firing they put out roughly 230 damage per second, which is enough to delete a Support who’s caught alone. A full clip goes in about two seconds, so don’t spray at targets you can’t finish.
Blink (Shift or right-click)
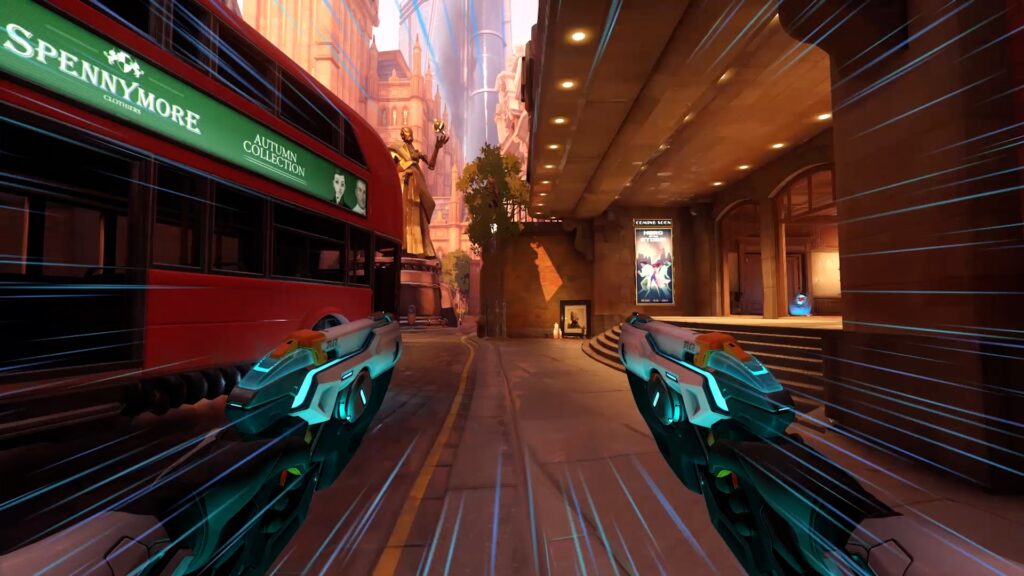
Blink teleports you 7.5 meters in the direction you’re moving, or straight forward if you’re standing still. You hold three charges, and each one recharges in three seconds. Blink doesn’t remove debuffs, and you can Blink over a Junkrat Steel Trap but not out of one you’ve already triggered.
Treat your three charges as a budget, not a dash button. A good habit is to spend one to get in, one during the fight to break the enemy’s aim, and to always keep one for getting out. Blinking through or behind a target forces them to turn 180 degrees to find you, and that turn is where most of your damage lands.
Recall (E)
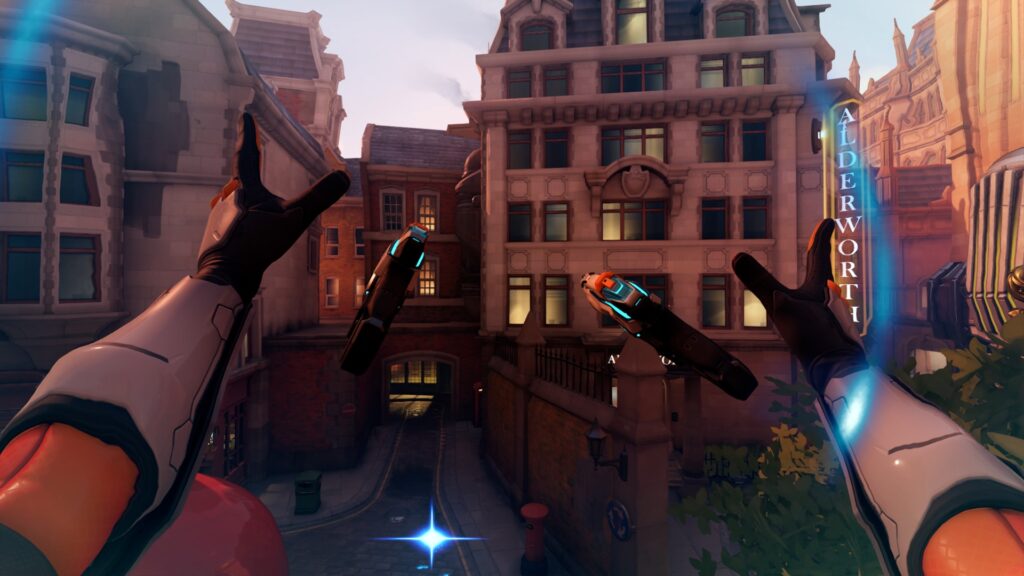
Recall sends you back to where you were three seconds ago and restores the highest health you had in that window. It also fully reloads your pistols. You’re invulnerable while it plays out and it clears most negative effects, which makes it your answer to burst damage, a lot of crowd control and a Pulse Bomb from an enemy Tracer. It’s on a 12-second cooldown, down from 13 since the August 2026 patch.
Recall is what lets Tracer take fights at all, so every engagement should start with the question “do I have Recall?” If it’s on cooldown, play the next 12 seconds safely. And because it takes you back three seconds, stand somewhere safe for a moment before you dive. That’s the spot you’ll land on.
Pulse Bomb (Q, ultimate)
A sticky bomb that explodes one second after it lands, dealing up to 350 damage at the center with falloff out to 4 meters, plus 5 damage when it sticks. Stick it to a 200- or 250-health hero and they’re dead unless someone saves them. Pulse Bomb charges quickly, at 1,375 points, so you’ll often have it more than once a fight.
Get as close as you can before you throw it. The projectile is slow, and in flight a D.Va can eat it with Defense Matrix or a Genji can Deflect it, so throwing from point-blank range or around a corner is far more reliable than lobbing it across the map. Once it’s stuck, nothing short of invulnerability, Recall or enough healing saves the target. It can also hurt you for up to 175, so Blink away after you throw.
Perks: what to pick
Tracer picks one Minor Perk at level 2 and one Major Perk at level 3 each match.
Minor Perk (level 2)
- Temporal Regen: passive health regeneration starts sooner after you take damage. It’s the default pick, because Tracer spends so much time breaking off and coming back, and getting topped up faster between runs adds up.
- Kinetic Reload: each melee hit gives you 12 ammo. It suits players who already weave quick melee into their combos to finish targets. Since the June patch cut it from 20 to 12 ammo it’s more of a niche pick.
Major Perk (level 3)
- Blink Packs: grabbing a health pack restores one Blink charge. Combined with the Flanker passive, a health pack gives you a big heal and an extra Blink, which makes it the stronger pick on maps with plenty of packs near your flank routes.
- Quantum Entanglement: Recall also gives you 50 overhealth and 20 extra ammo, both of which decay over six seconds. Pick it when you need to win fights straight after Recalling instead of running away, for example against a lot of spam damage or when your team is fighting close to you.
How to play Tracer
Pick your target before you go in
Your best targets are Supports and squishy Damage heroes standing at the back, especially anyone who’s alone or busy with something else. Don’t commit to tanks: you’ll empty a clip into a health bar that barely moves while their team turns on you. Before you leave your team, know who you’re going for and how you’ll get out.
Flank wide, and time it with your team
Take side routes and high ground so you arrive from behind or from an angle the enemy isn’t watching. The best moment to go in is right as your tank engages. While the enemy backline is looking forward, you’re free. Going in alone before the fight starts usually means fighting the whole enemy team on your own.
Hit, leave, come back
Tracer doesn’t win long fights. Dive in, deal a clip’s worth of damage, and leave as soon as the target gets help, you take a big hit, or you run out of Blinks. Grab a health pack, wait for your cooldowns, and come back from a different angle. Even when you don’t get the kill, forcing their Supports to look at you instead of healing their team is doing your job.
Track enemy ultimates and cooldowns
One stun or one well-aimed burst kills a 175-health hero. Learn which enemy abilities can lock you down or one-shot you, notice when they’ve been used, and go in during the window right after. Recall saves you from a lot, but not from a stun that lands before you press it.
Counters and matchups
Tracer struggles against heroes who don’t need precise aim to hit her or who can stop her moving:
- Cassidy: his Magnetic Grenade homes in on targets nearby, and his revolver can kill you in a couple of shots. Fight him from out of his sightline, or wait until his grenade is on cooldown.
- Brigitte: she sits right on top of the Supports you want, her Whip Shot knocks you away, and her armor makes your damage less effective. Go for a different target.
- Torbjörn and Symmetra: turrets lock on automatically and chip you down fast. Destroy them or avoid that angle.
- Winston: his Tesla Cannon doesn’t need precise aim, and he’s built to chase mobile heroes. Don’t duel him in the open.
- Junkrat: his Steel Trap stops you dead and Blink can’t get you out of it. Look out for traps on common flank routes.
On the other hand, Tracer is happiest against slow or immobile backlines: Supports with no escape, long-range heroes who need you to sit still, and team compositions that don’t have anyone to peel for their backline.
Recent changes to Tracer
Tracer has been adjusted several times in 2026. The changes that matter most to how she plays:
- February 10: Pulse Pistols damage reduced from 6 to 5.75 per bullet, but the bullets gained the larger global projectile size, which makes them more forgiving against moving targets. Blink Packs moved from a Minor to a Major Perk.
- June 16: Kinetic Reload’s ammo gain reduced from 20 to 12.
- August 11: Recall’s cooldown reduced from 13 to 12 seconds. Temporal Regen replaced Chronal Dash as a Minor Perk. Separately, the Flanker sub-role’s extra health pack healing was cut from 75 to 50.
- October 6 (Season 5): Tracer’s hitbox was adjusted: the torso got slightly bigger and the legs slightly smaller.
For the full list of changes, see Blizzard’s official patch notes.